An Identity Card (ID Card) is a crucial document used in schools, offices, and organizations to verify a person’s identity. Typically, it includes personal details such as name, photo, date of birth, contact information, and sometimes more like social handles.
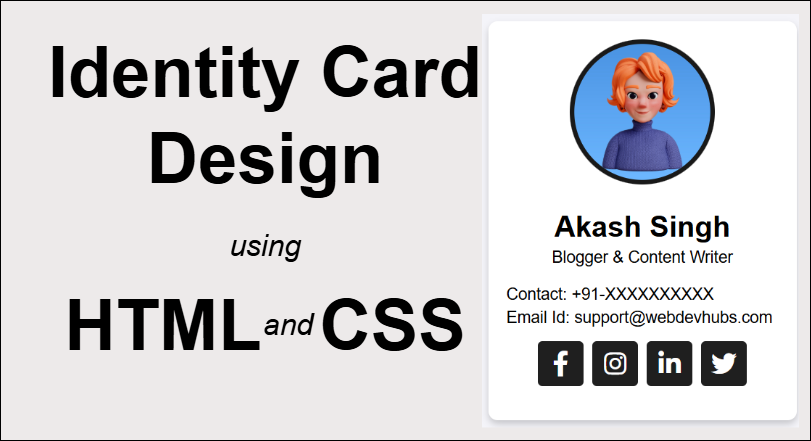
In this article, you’ll learn how to design a responsive and professional-looking identity card using just HTML and CSS — no JavaScript required. You’ll also see how to include Font Awesome icons for social links like Facebook, Instagram, LinkedIn, and Twitter to enhance design appeal.
By the end of this guide, you’d have a complete, ready-to-use digital ID card template you can customize for your own projects.
Tools We’ll Use
- HTML5 – For structuring the ID card content.
- CSS3 – For styling and layout.
- Font Awesome – For adding crisp social media icons.
You won’t need any advanced tools or frameworks — just basic frontend skills and a modern browser!
Identity Card HTML & CSS Code
<!DOCTYPE html>
<html lang="en">

<head>
    <meta charset="UTF-8">
    <meta name="viewport" content="width=device-width, initial-scale=1.0">
    <link rel="stylesheet" href="https://cdnjs.cloudflare.com/ajax/libs/font-awesome/6.0.0-beta3/css/all.min.css">
    <title>Identity Card</title>
    <style>
        body {
            font-family: Arial, sans-serif;
            background-color: #f4f4f9;
            display: flex;
            justify-content: center;
            align-items: center;
            height: 100vh;
            margin: 0;
        }

        .container {
            text-align: center;
        }

        .card-title {
            font-size: 24px;
            font-weight: bold;
            margin-bottom: 20px;
        }

        .card {
            width: 300px;
            height: 400px;
            padding: 20px;
            background-color: white;
            border-radius: 10px;
            box-shadow: 0 4px 8px rgba(0, 0, 0, 0.2);
        }

        .card img.profile {
            width: 150px;
            height: 150px;
            border-radius: 50%;
            background-color: #191919;
            padding: 2px;
            margin-bottom: 15px;
        }

        .card h2 {
            font-size: 32px;
            margin: 10px 0 5px;
        }

        .card p {
            margin: 5px 0;
            font-size: 18px;
        }

        .card .contact-info {
            margin-top: 20px;
            text-align: left;
        }

        .card .social-icons {
            display: flex;
            justify-content: center;
            gap: 10px;
            margin-top: 15px;
        }

        .card .social-icons a {
            width: 50px;
            height: 50px;
            display: flex;
            justify-content: center;
            align-items: center;
            border-radius: 10%;
            background-color: #1f1f1f;
            color: white;
            text-decoration: none;
            font-size: 28px;
        }

        .card .social-icons a:hover {
            background-color: #2b80ff;
        }
    </style>
</head>

<body>
    <div class="container">
        <div class="card-title">Identity Card</div>
        <div class="card">
            <img src="avatar.jpg" alt="Profile" class="profile">
            <h2>Akash Singh</h2>
            <p>Blogger & Content Writer</p>
            <div class="contact-info">
                <p>Contact: +91-XXXXXXXXXX</p>
                <p>Email Id: support@webdevhubs.com</p>
            </div>
            <div class="social-icons">
                <a href="#" title="Facebook"><i class="fa-brands fa-facebook-f"></i></a>
                <a href="#" title="Instagram"><i class="fa-brands fa-instagram"></i></a>
                <a href="#" title="LinkedIn"><i class="fa-brands fa-linkedin-in"></i></a>
                <a href="#" title="Twitter"><i class="fa-brands fa-twitter"></i></a>
            </div>
        </div>
    </div>
</body>

</html>
Output
How to Customize This ID Card?
You can easily modify:
- Name, bio, and contact details in the HTML.
- Replace
avatar.jpgwith your own profile image. - Update the social media links with actual profile URLs.
- Tweak the colors and font styles in the CSS for a personalized touch.